Building A Cabinet…
A while ago, my wife and I found an antique mailbox.
(The link to that post is here…)
I wasn’t sure how I was going to design a case to hold it, so it took longer than I thought it would… but such is the way of life !
I knew that I wanted the cabinet to be “rough looking”, so I went on the hunt for some rough hewn wood.
 A few years ago, I had found a place on Westwood Street in Coquitlam that sold wood salvaged from old buildings. When I went back, this time, the fellow only had a few bits left, as he just wasn’t able to find a constant supply, and so had shut down the business. He had about 15′ of 1″ thick barn boards made from old growth Douglas Fir, and 10′ of Douglas Fir Tongue and Groove. The Barn Boards were wonderful old wood, with knot holes, nail marks and although I wasn’t sure there was enough wood, I grabbed it for the $30 he was asking!
Over the next few weeks, I kept looking at the wood, and measuring the cabinet, and finally figured a way to make it work. The boards were 12″ wide, and so I made my own rough tongue and groove planks, 5.75″ wide, and joined them together to make the 16″ deep cabinet I needed.
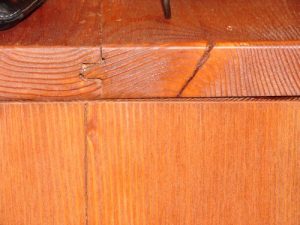
What I DIDN’T think about, was that because the wood was so old, so dry, and slightly warped… not all the planks wanted to go into place, and so a few splits showed up while I was forming the sides… but I just added some biscuit joins, and clamped it back down again.
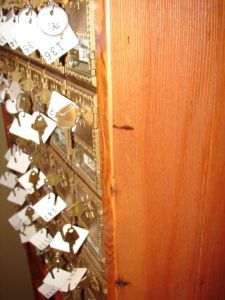
The real test came when I was trying to custom fit the slots and wires that were on the side of the mailbox assembly, and create notches and grooves for all the “sticky-outy bits.” Took a while, but we got there.
Assembly day, and turns out the cabinet is 25″ wide, and I only have 24″ clamps. Fortunately, my Father-In-Law has a workshop full of tools, and he was happy to loan me some clamps that were big enough.
 Between the sides and the shelves, the “big” chunks of wood were all gone, and at this point, I wasn’t sure how I was going to make the doors, but I thought I would see if the cabinet frame worked first, and cross that bridge when I got there.
I supported the mailbox on a piece of 3/4″ plywood, with a 2″ strip of Fir on the front (to make pretty) dado cut into the sides.
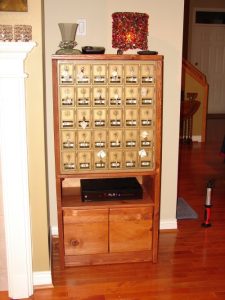
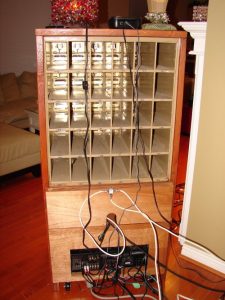
The top was fastened with a biscuit joiner to the top of the sides, exposing the T&G top, and showing some of the nicer wood “character”.There were a ton more steps, and the doors were a challenge, because I had to make them out of three different small chunks of wood, because I didn’t have enough large pieces left… but in the end it is done (other than, from the back view, you will see that we have some re-wiring to do.)
It has been a bit of a challenge, and a large puzzle to wrap my brain around… but that is the sort of project that I find VERY engaging.
As I look at it, I am quite pleased with it, and once the cables are tidy, I’m sure I will like it even more.
In the meantime, I thank you for your patience, because I have not been posting to my Blog, as often as I normally do… because I’ve been working on this.
And…
Because I’ve been working on this, and it is nearly done, I thought I would post it to my Blog!

Your cabinet is exquisite. It highlights the mailbox beautifully! What a lovely piece of furniture you have now, but also so practical for your electronics. Enjoy!
B-E-A-U-T-I-F-U-L!
WOW! What a beautiful piece of cabinetry (Right word for it?? I was going to say ‘Art’, but not sure if that is right either!) You have done an amazing job. When you first showed the pictures of it, it looked like a really cool, quirky piece for your home, but now that it is refinished, I have to say again ‘WOW’. Really gorgeous!